# DrawImage()
| Valid For | #HMI |
|---|---|
| Applies To | HMI430 |
This function displays an image on the LCD. Only PNG images and SPLat “dif” images are supported.
Function Prototype
#HMI DrawImage(
   id:IdNumber,
   x:TopLeftPositionX,
   y:TopLeftPositionY,
   i:"ImageFilename",
   z:ZIndex,
   ro:Rotation,
   ox:RotationOriginX,
   oy:RotationOriginY,
   a:AlphaOpacity )
| Parameter | Option | Description |
|---|---|---|
| id | optional | Numerical identifier for the image in the range 0 thru 29. Only required if you plan to alter the image later (like moving it, or swapping it for a different one). |
| x | mandatory | TopLeft X coordinate where the top left corner of the image should be drawn, relative to the whole screen. Any of the positioning methods may be used. |
| y | mandatory | TopLeft Y coordinate where the t op left corner of the image should be drawn, relative to the whole screen. Any of the positioning methods may be used. |
| i | mandatory | Name of the image file, limited to 32 characters. Only .png and .dif images are supported. |
| z | optional | Z-Index. By default images are drawn at a z-index of 64. |
| ro | optional | Angle in degrees at which the image should be rotated. Positive rotates anti-clockwise, negative rotates clockwise. Be aware rotation takes a lot of time, time which is taken away from your control application. So use this sparingly – preferrably not at all. Defaults to none. |
| ox | optional | Only relevant if rotating, this is the rotation centre of the image in pixels. For example, if you have an image that is 5 x 15 and the middle is the rotation centre, then ox would be set to 2 (ie it has pixels at [0, 1, 2, 3, 4] 2 is the middle) |
| oy | optional | Also only relevant if rotating, this is the rotation centre of the image in pixels. |
| a | optional | Alpha opacity allows you to fade the image. It may be a number in the range 0 thru 255, or 0% thru 100% where:0, 0%: completely transparent128, 50%: half transparent255, 100%: completely opaque (solid)255/100% is the default. |
Description
The HMI430 supports up to 30 images. Images are a managed object, meaning the HMI430 will automatically redraw the image if buttons or text are drawn over it. It also means images can be drawn, then moved simply by referring to their ID and specifying the new position. All the original information such as filename and z-index are retained.
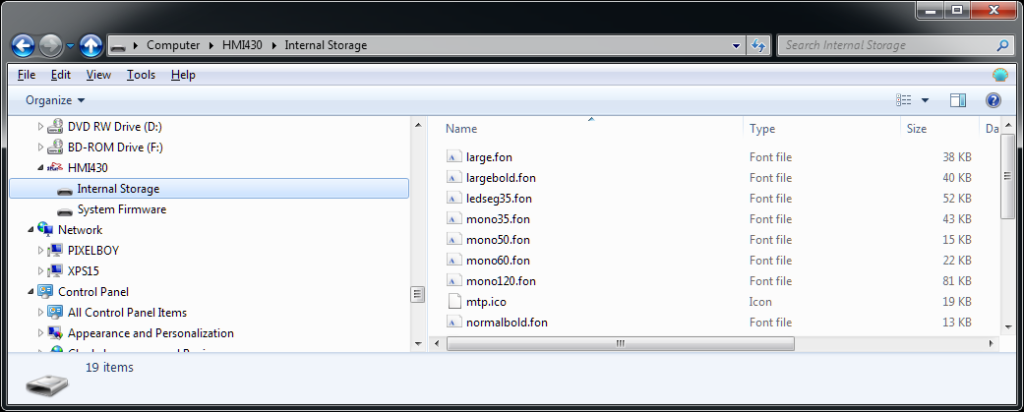
SPLat/PC does not download images to the HMI. Instead, you must manually place images in the HMI filesystem, in the Internal Storage folder.
Downloading a new program to the HMI from SPLat/PC will not erase any image or font files in the HMI.
Images are positioned relative to the screen, but only the part of the image that lies within the current bounds will be drawn. Applying a bounds limit makes it possible to draw a section of an image, for example the water image in a tank image. Changing the bounds will not alter the visible part of the image unless DrawImage() is called again. Simply saying DrawImage( id:5 ) is enough to apply the new current bounds to an existing image.
Be aware that #Reset() will erase all images and you will need to specify them fully if you want them drawn again.
Note: When using an image whose colour is not completely solid on a non-transparent background, the underlying firmware automatically draws a border around the image.
Gotchya’s
Q. I’m calling DrawImage() with all the correct parameters, but it’s not being displayed.
A. Make sure it’s not being drawn outside any bounds. If necessary, remove bounds with #HMI SetBounds().
Examples
#HMI DrawImage( x:11px, y:100px, i:"watertank.png" )
Draws an image with the top left corner of the image placed at (11, 100). As the id is automatically assigned, you’ll have no way of altering this image later.
#HMI DrawImage( id:0, x:50px, y:160px, i:"ptrsolid.png" )
Draws an image with the top left corner of the image placed at (50, 160) and assigns it with an ID of id 0.
#HMI DrawImage( id:0, x:(f(=w,3,0), "px") )
Moves the image to the new X position that’s in the W register. The Y position will stay the same.
Rotation
A fully worked example that shows how to rotate an image can be found here. This is what it does:

Animation
Animation isn’t too hard. Let’s say you’ve got a 4 frame animation with files named:
Working0.png, Working1.png, Working2.png, Working3.png

Displaying each of these in turn at a regular interval is quite easy.
The trick is in constructing the filename. Here’s how you could do it.
bFrameNum   defBYTE    ;use this to remember which frame we're at

   ...
   SetMem         bFrameNum,0
   #HMI           DrawImage( id:1, x:154px, y:109px, i:"Working0.png" ) ) draw and position the first frame
   ...

_LoopStart
   MarkTime                         ;(re)start the timer
_Loop
   YieldTask
   ;
   ; do other UI stuff here
   ;
   LoopIfTiming   15,_Loop          ;150ms between frame updates
   Recall         bFrameNum         ;calc next..
   IncX
   Push                             ;..frame
   GoIfXlt        4,_UIPTSaveFrame  ;jump if within 4 frames
   LoadX          0                 ;otherwise back to the first frame
_UIPTSaveFrame
   Push                             ;copy
   Store          bFrameNum         ;save this frame num
   #HMI           DrawImage( id:1, i:( "Working", b(=x), ".png" ) )  ;display the next frame
   Goto           _UIPTLoopStart    ;loop over, restarting the frame timer
So the magic is in, i:( “Working”, b(=x), “.png” ). It is using the X register to make the name of the next file to display. If X = 2, this would make the name Working2.png. This new frame would replace the existing one, thus making an animation. Oh yeah, don’t forget to use the same ID!